15 & 17. Mechanical Design & Machine Design
Assignments for this week
- Group Assignment
Design a machine that includes mechanism+actuation+automation.
Build the mechanical parts and operate it manually.
Document the group project and your individual contribution.
Deciding the Machine
Deciding the machine was a tedious task for us. We spent a lot of time brainstorming the machine to design and build and came up with a lot of idea.
Some of the group members wanted to build a machine that could make another machine and others wanted to build an injection molding machine. But we felt that this was too ambitious given that none of us in the group had built a machine before. we wanted to build something simpler to start with where we could get help from the instructors if we stumbled along the way, the parts for which were readily available so that we could finish within time and we had the necessary skills to finish the machine building in time.
What we agreed on as a group was to build a modular machine which had a common motion control system for x, y and z directions. There should be scope to change the end-effector to achieve different functions such as adding an extruder system to make a 3d printer, adding a spindle for CNC engraver, a laser for laser cutting, a pen for a plotter, adding a microscope for a telemedicine system, etc. All of us were excited to pursue this path.
However, we couldn’t agree as a group for one specific machine. Part of the reason was also that the local fab lab is situated 2.5 hours one way for most of us and we have varying work schedules which made it difficult to work together. So we decided that few members of the group would work on building Hector, which is an open access medium-sized CNC machine started by Jens as his fab academy project. Few others were intrigued by the idea of cardboard CNC and wanted to pursue that. So, we decided to build a motion control system for x, y, and z and make an XY plotter machine. This seemed achievable. If we are successful, others could learn from the mechanisms and electronics and they could also add further functionalities.
Deciding the mechanical design
We decided to try three designs.
- First is the rack and pinion motion which is used in building the Hector machine.
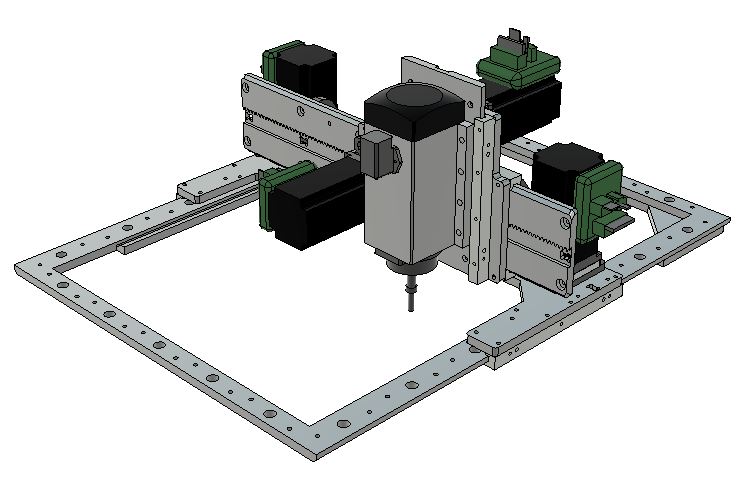
- The second mechanism was [lead screw mechanism] used in MTM machine that makes machine by Nadya Peak.
- And the last one was Lead screw and timing Belt mechanism used in the x-y plotter.
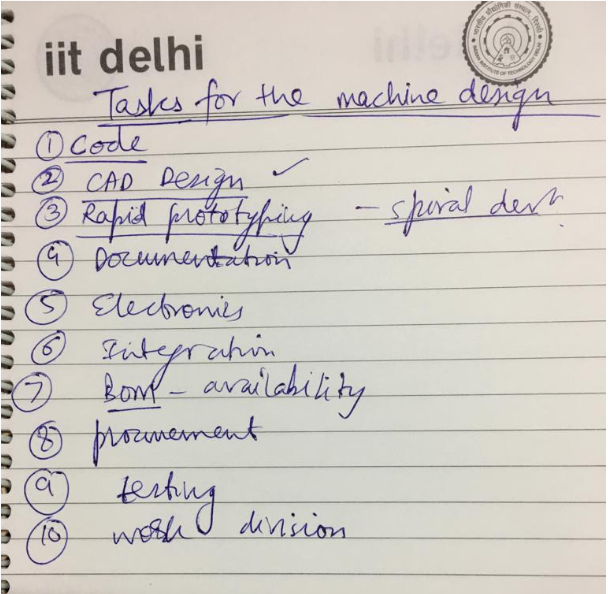
Deciding the task
As a team, we decided like what we need for this group project and segregated each task within the group. First, we agreed that we need to do Rapid prototyping to understand it better what actually is needed.
Number 1 priority for the task we agreed among ourselves was to do Rapid prototyping and try out the following options before we decide the segregation of work.
- Try hector mechanism after cutting its design files on CNC/Laser
- Try out Nadya peek cardboard based design on the laser
- Outsource the milling of aluminum parts for hector as in fab lab we don’t have metal CNC available
My Role
My task was to work on the mechanical design for the MTM machine.
Mechanisms
To start with, we first needed to understand the lead and screw mechanism. So we carefully observed the design available on the Nadya Page.
Required materials
For this mechanism to work, we needed things listed below:-
- Guide rods
- Threaded rods with screw
- Stepper motors
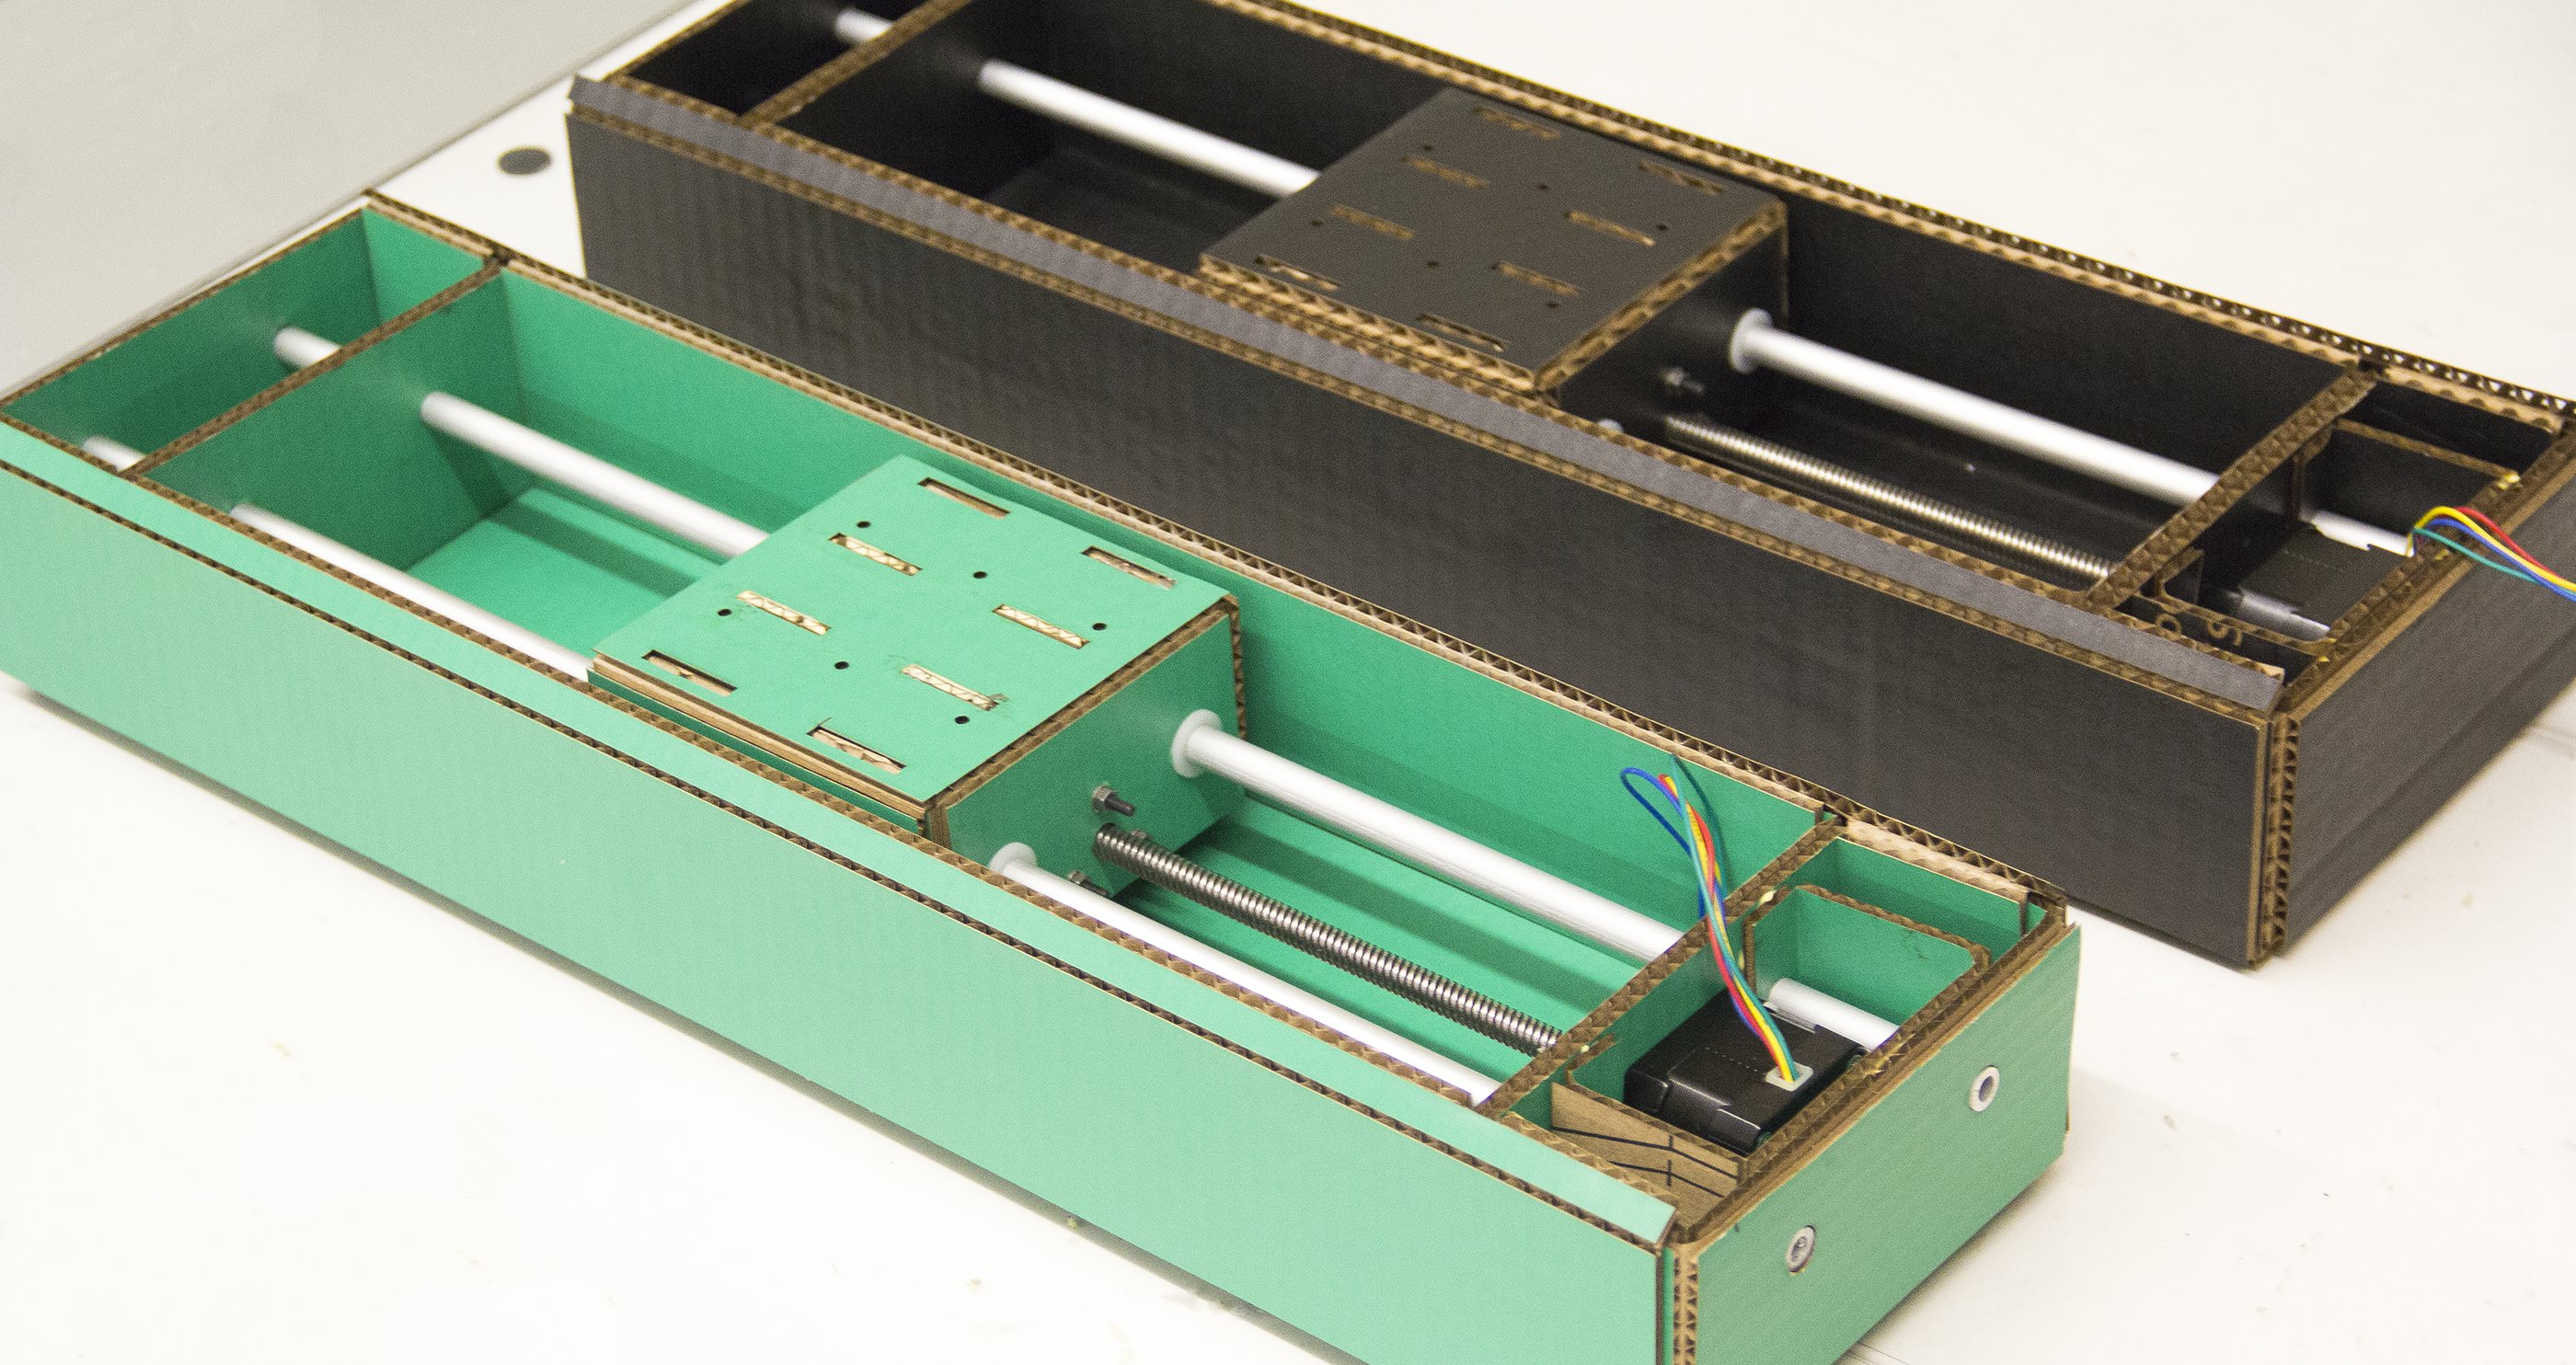
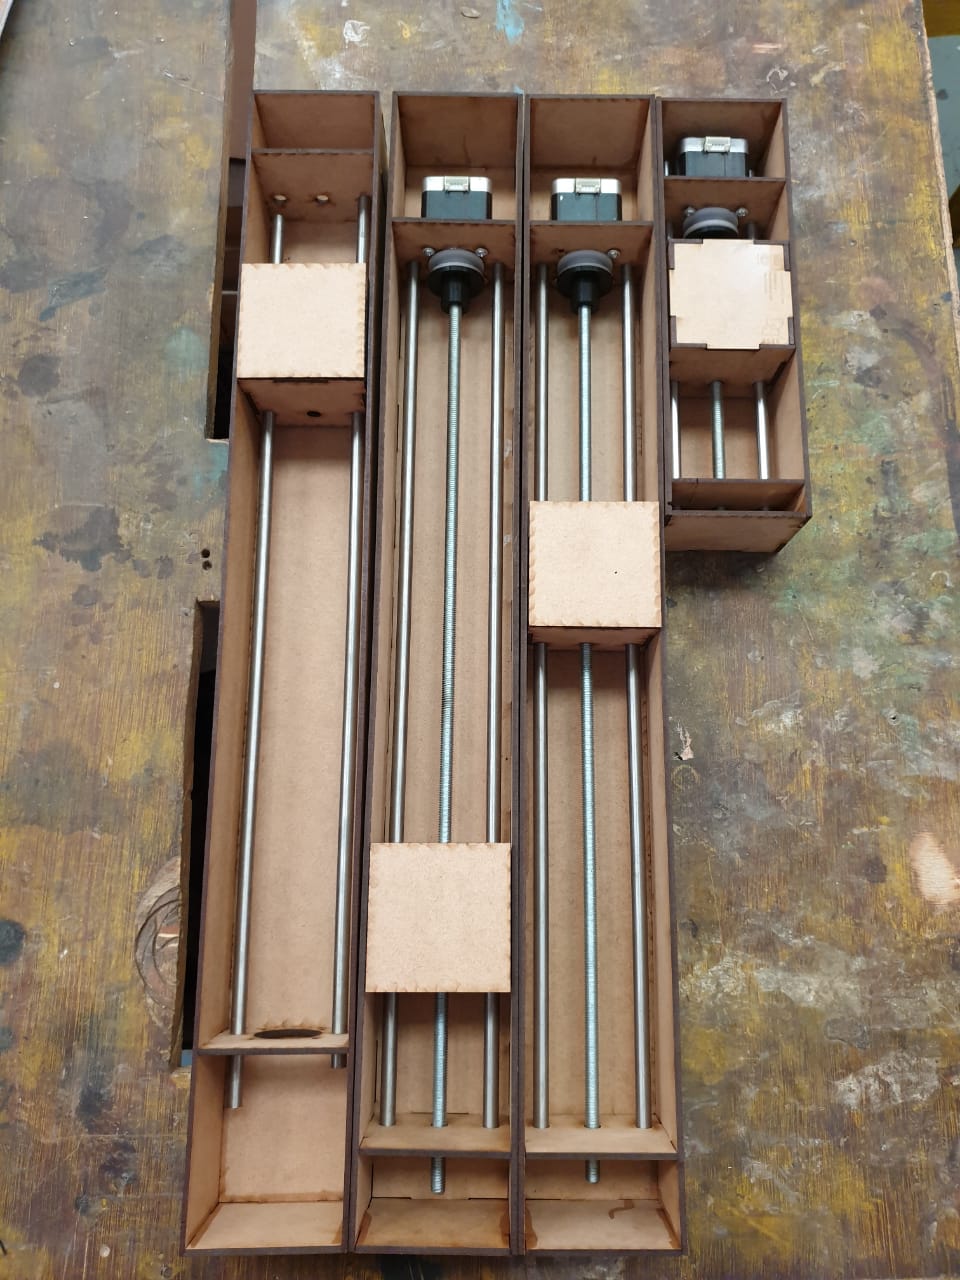
Design
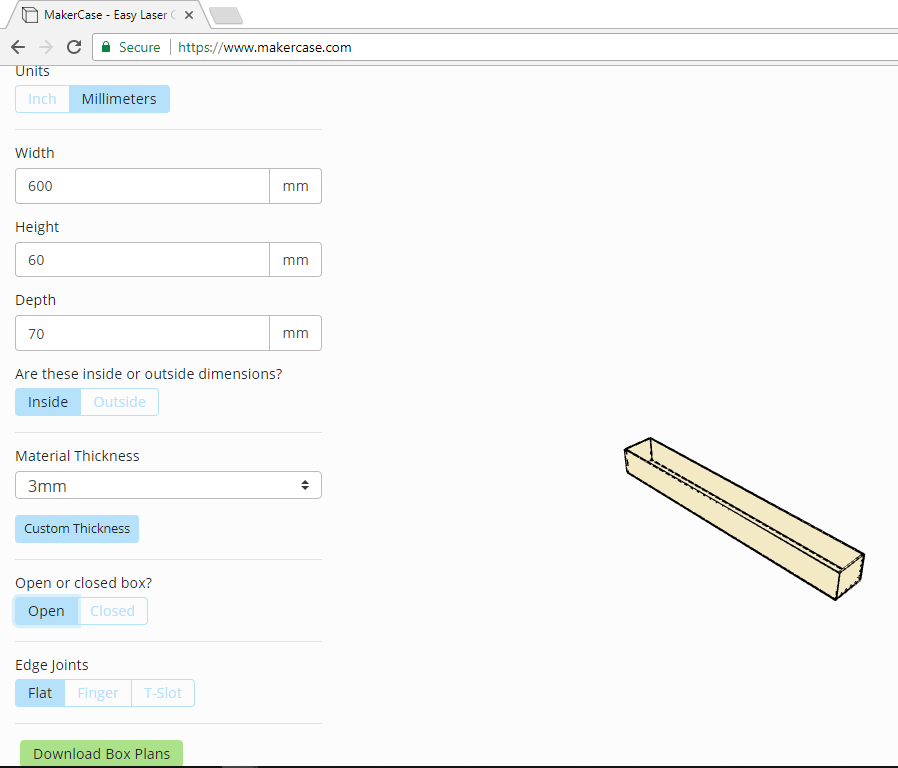
I decided to make each assembly of dimensions 600mmX70mmX60mm. The factors I considered were:-
- Size of the bed we wanted. With the 600mm length of each assembly, we got the bed size of 450X450mm.
- Size of the stepper motor as these had to rest within the assembly. The dimensions of the stepper motor that we have were 42X42X42 mm.
- By how much distance we want the tool to move up and down.
Steps
I designed a simple box with finger tabs on maker case website.
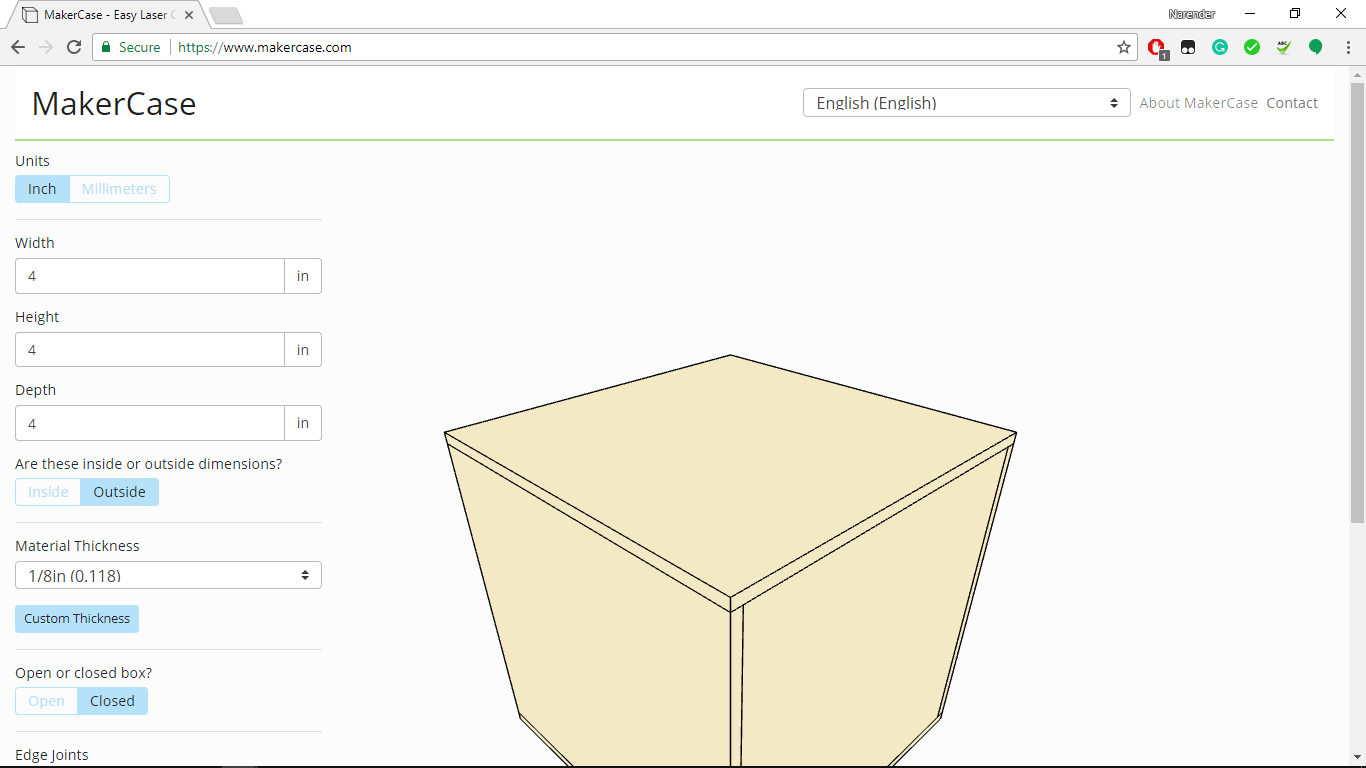
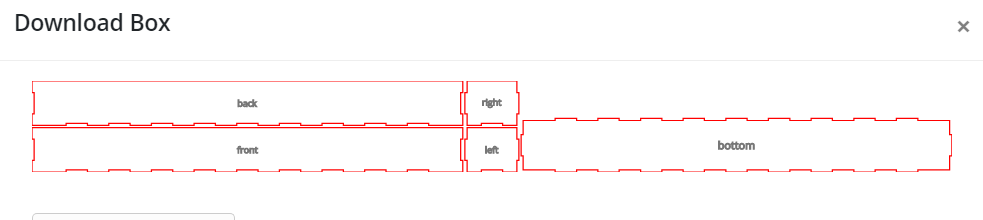
- Here, you have to define the length, breadth, and height of the box. Then select whether these are inside or outside dimension with the material thickness. You can select whether you want an opened or closed box. After that simply click on the download box button and you will get the vector file of 5/6 faces of the box.
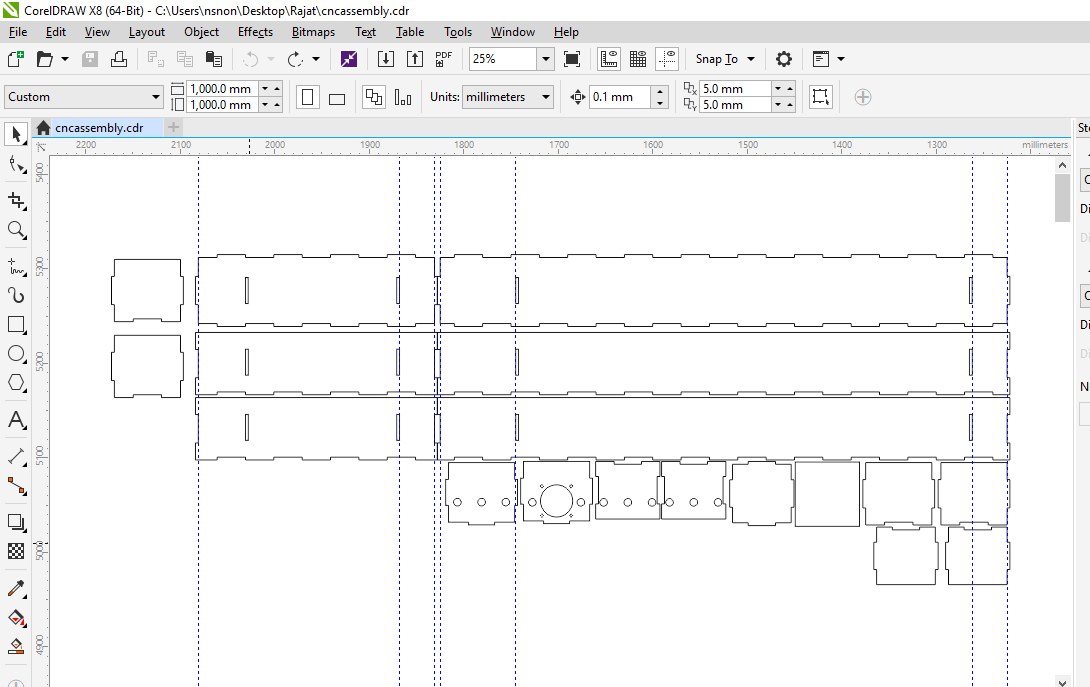
- Then, I imported the file into the CorelDraw and edited the faces to add holes for the motors and the screws. Also, I make the tabs in the faces where the partitions had to fit.
- For this, I used rectangle and circle tools to draw the required parts and guidelines to place the slots at their right positions.
Click to download the DXF file.
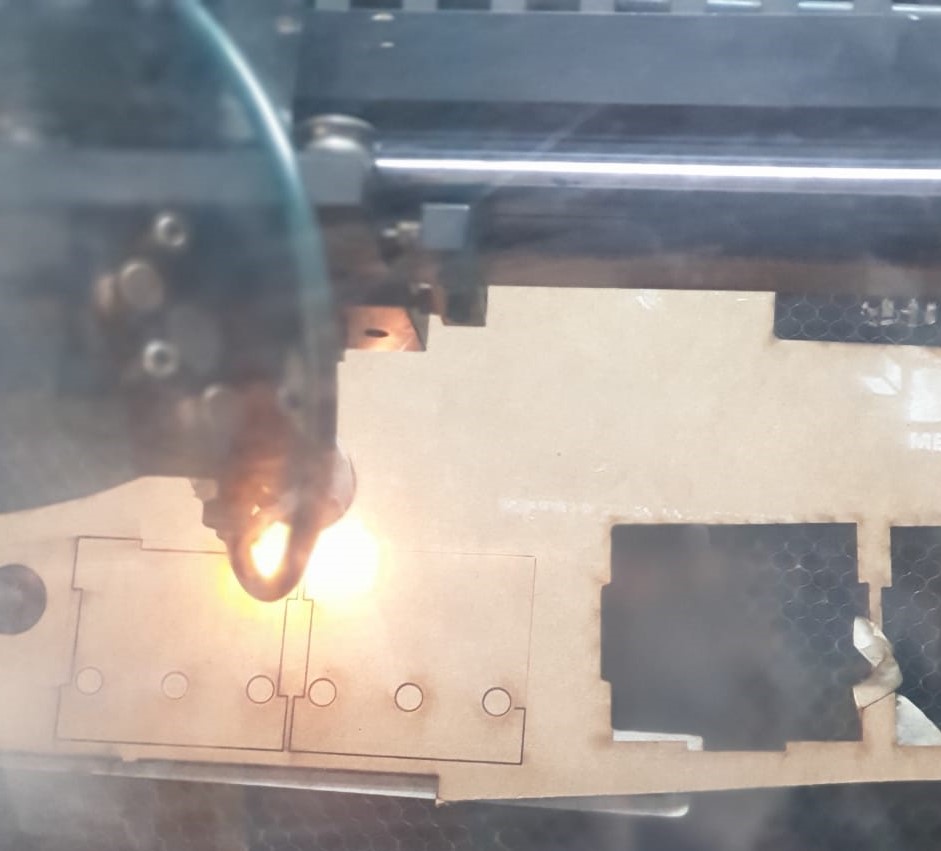
- Next, I exported the design in dxf format and imported in the RD works for laser cutting.
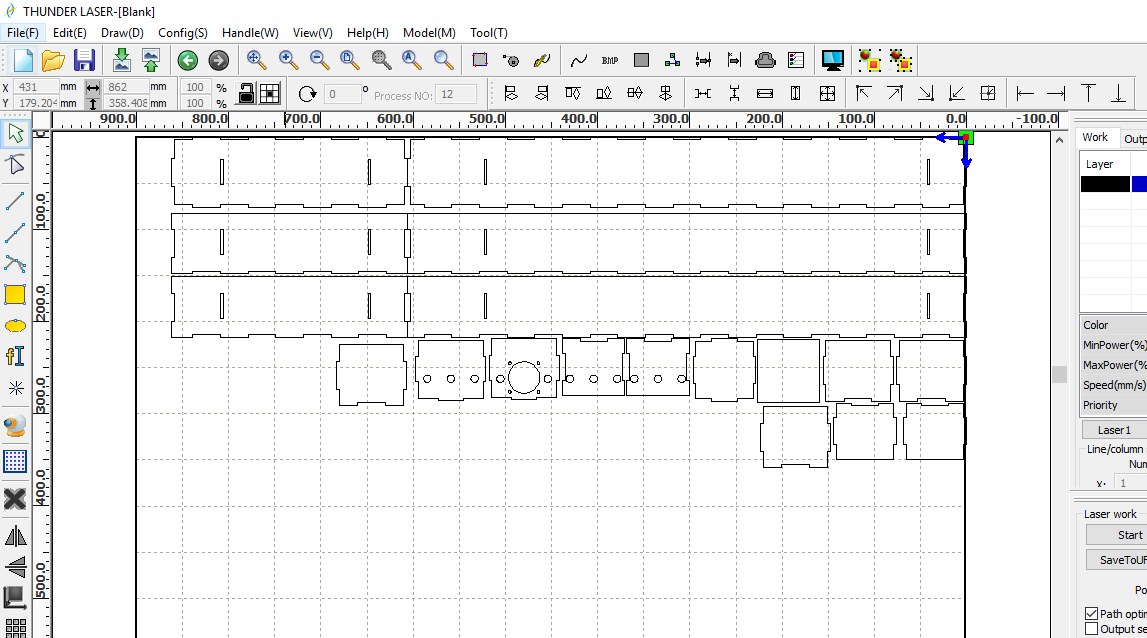
To learn more about cutting and designing process you can check CAD and Computer controlled cutting week.
Assembly
- I and Rajat fixed all the parts together and applied a little bit of glue so that the pieces won’t fall apart when they start working.
- We didn’t have the couplers at that time for attaching the threaded rods to the motor shaft. Then, we designed and 3D printed them.
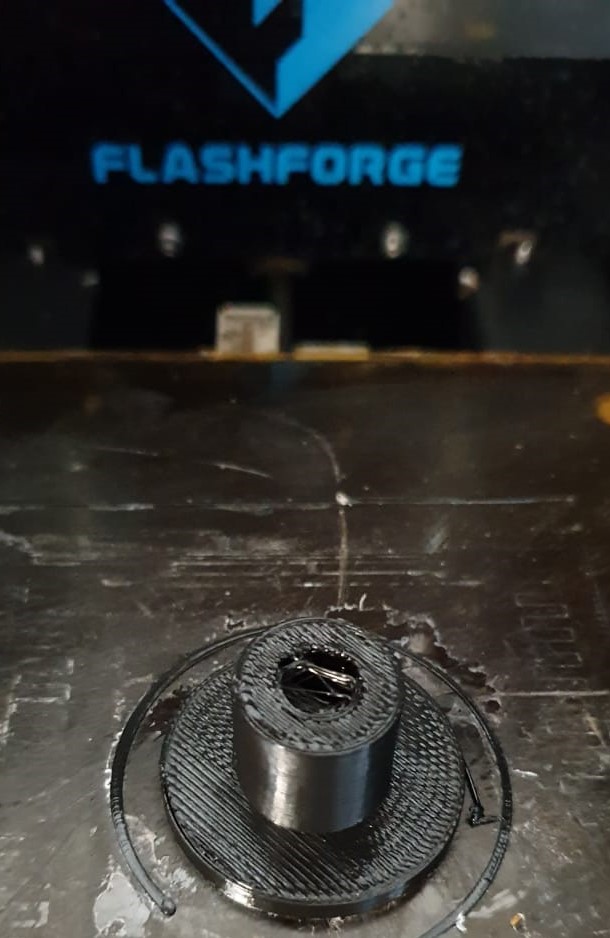
Download Bobbin)
Download Coupler)
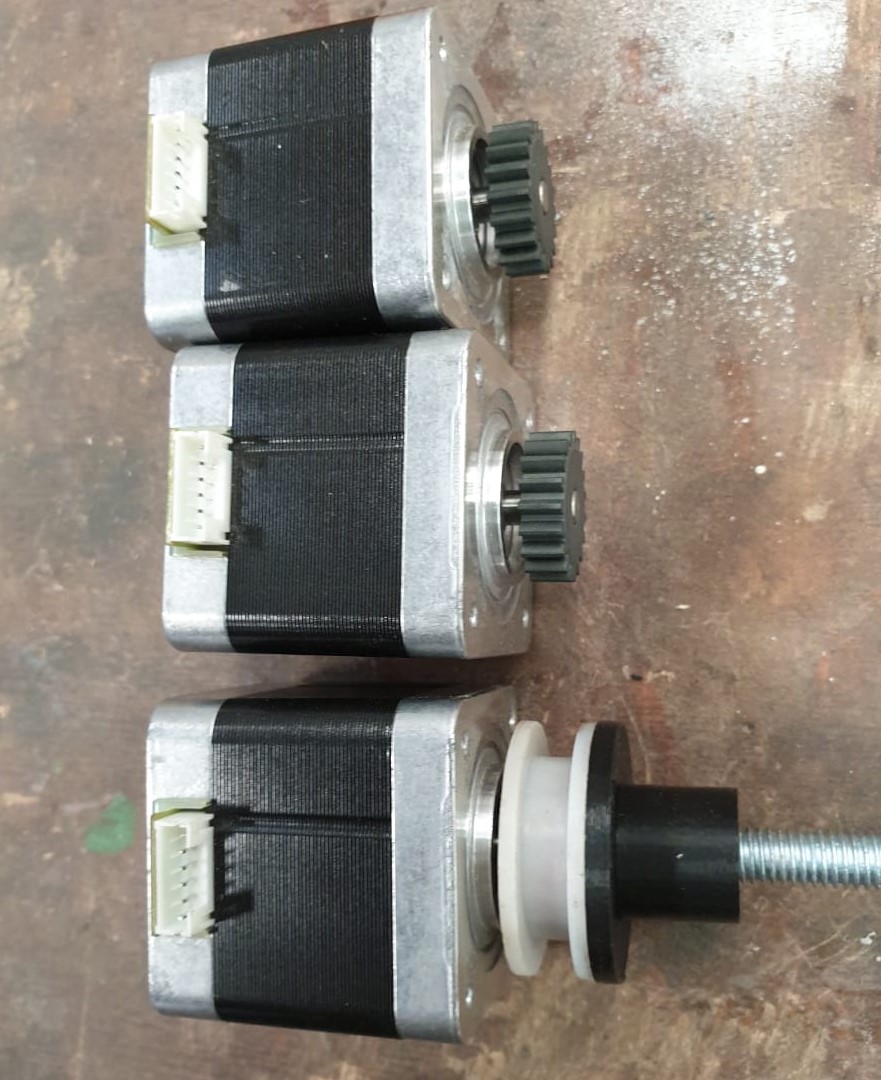
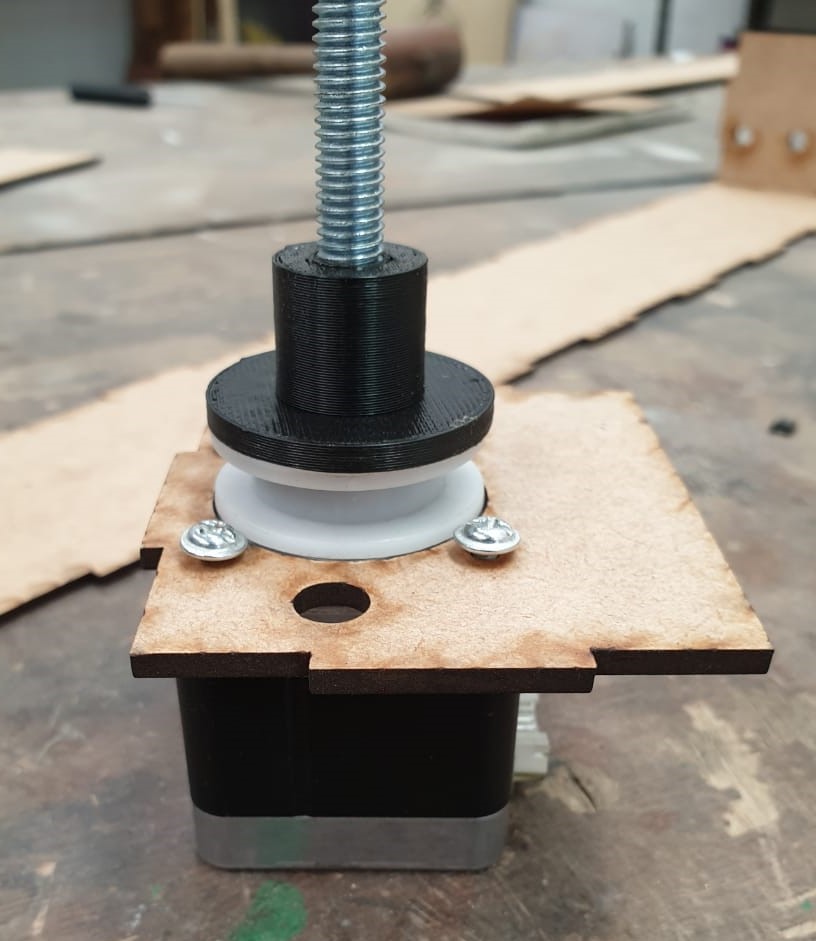
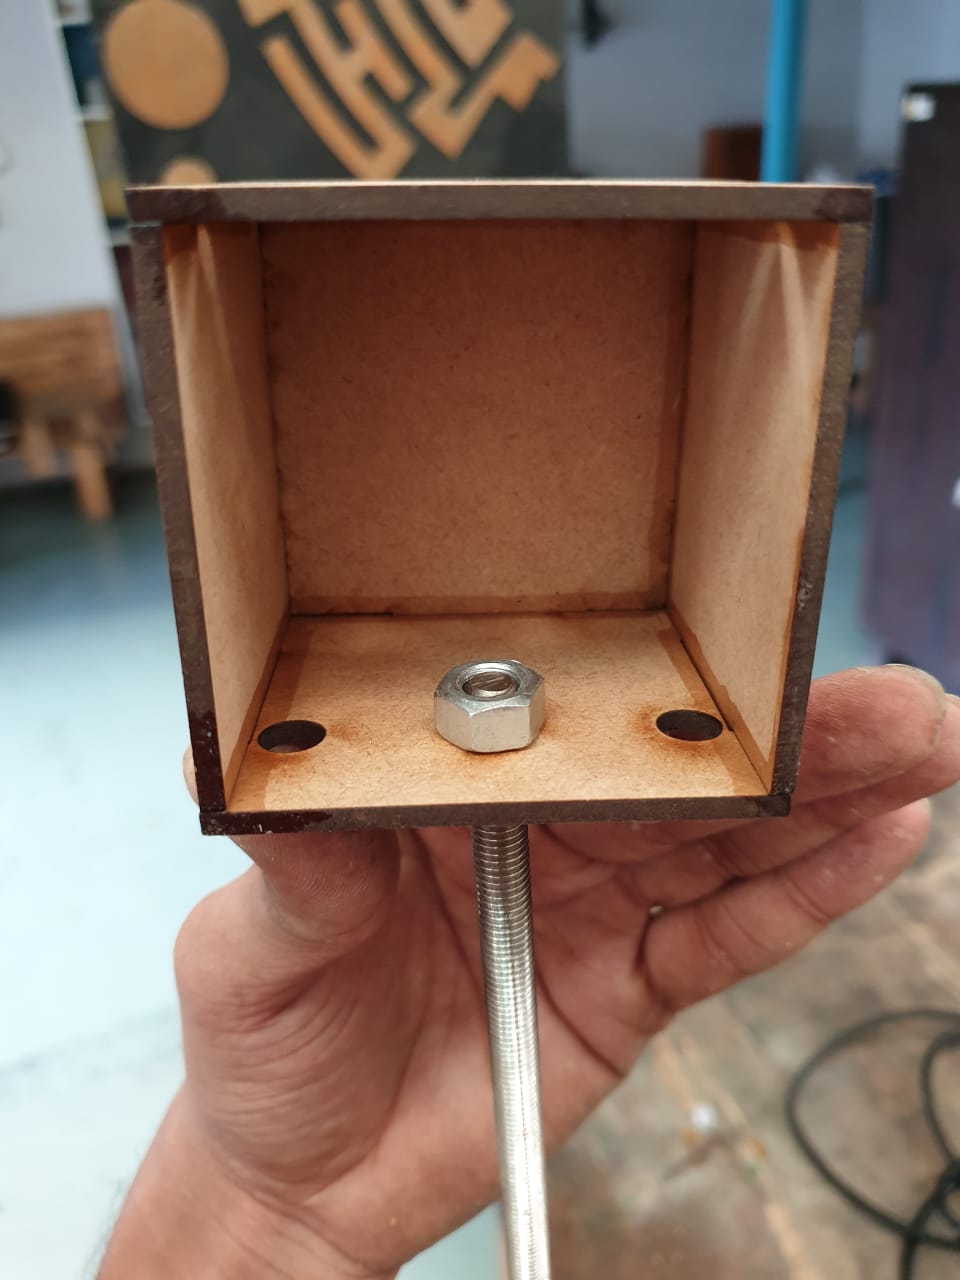
Next, we used a screw in the threaded rod and glued it to the MDF so that this part starts moving backward and forward when the motor rotates.
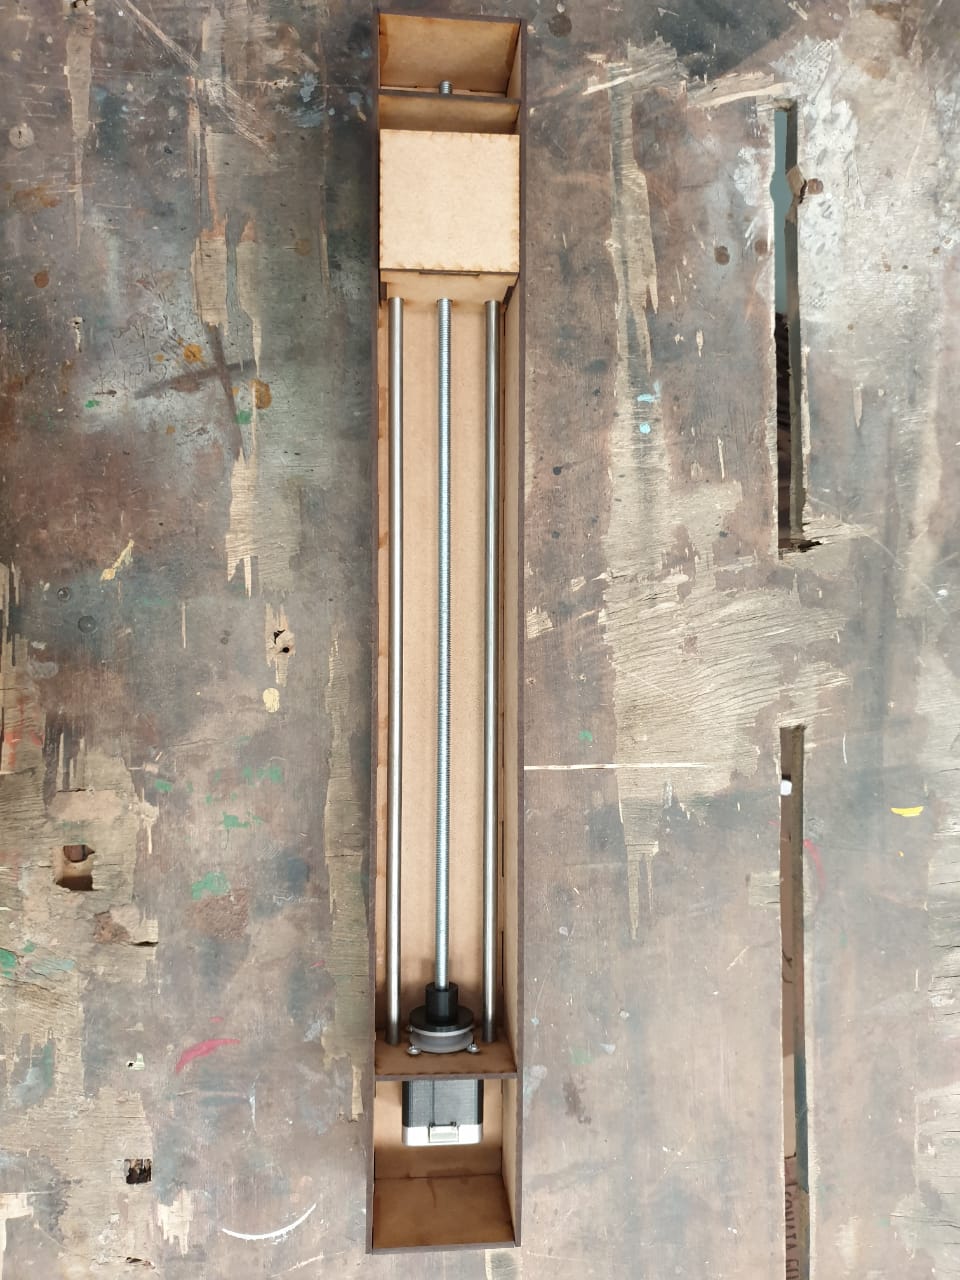
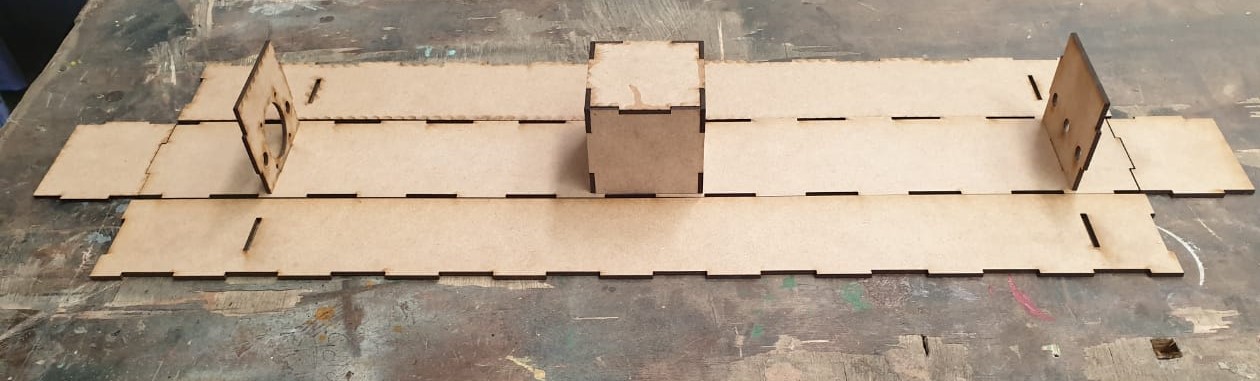
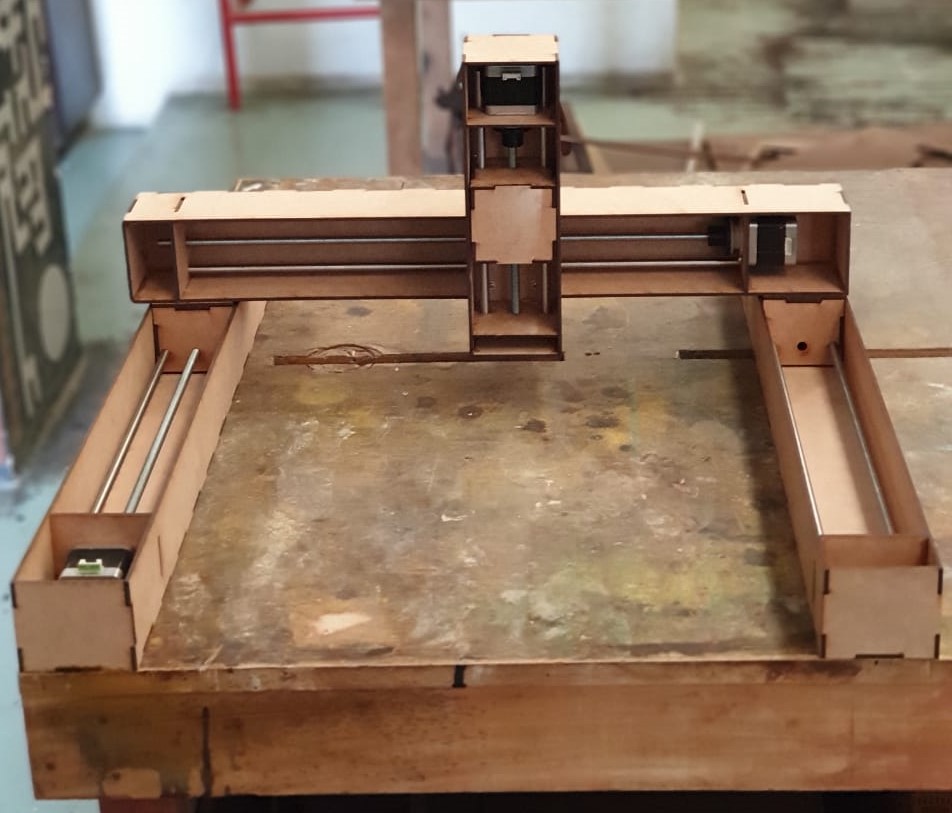
Final Outcome
- After fixing all things together our machine was ready for the next stage(electronics).
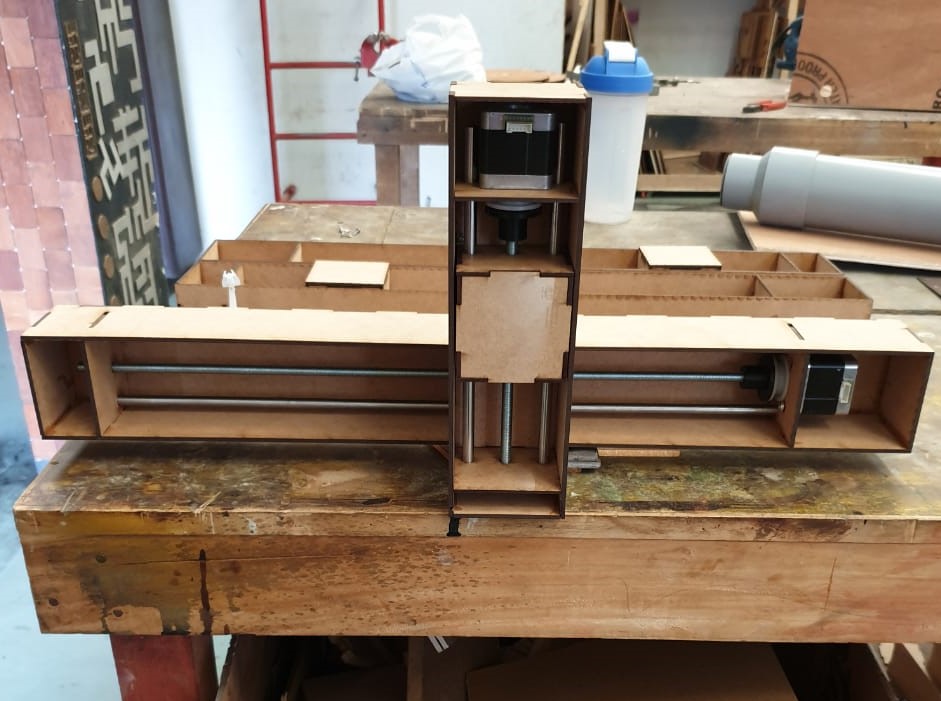
Testing
The test result was not that perfect as the shafts were wobbling too much because we didn’t use the proper shafts and the couplers but the key thing was that we were able to understand the Lead screw mechanism in detail.
Here is the hero video for Lead screw mechanism working.
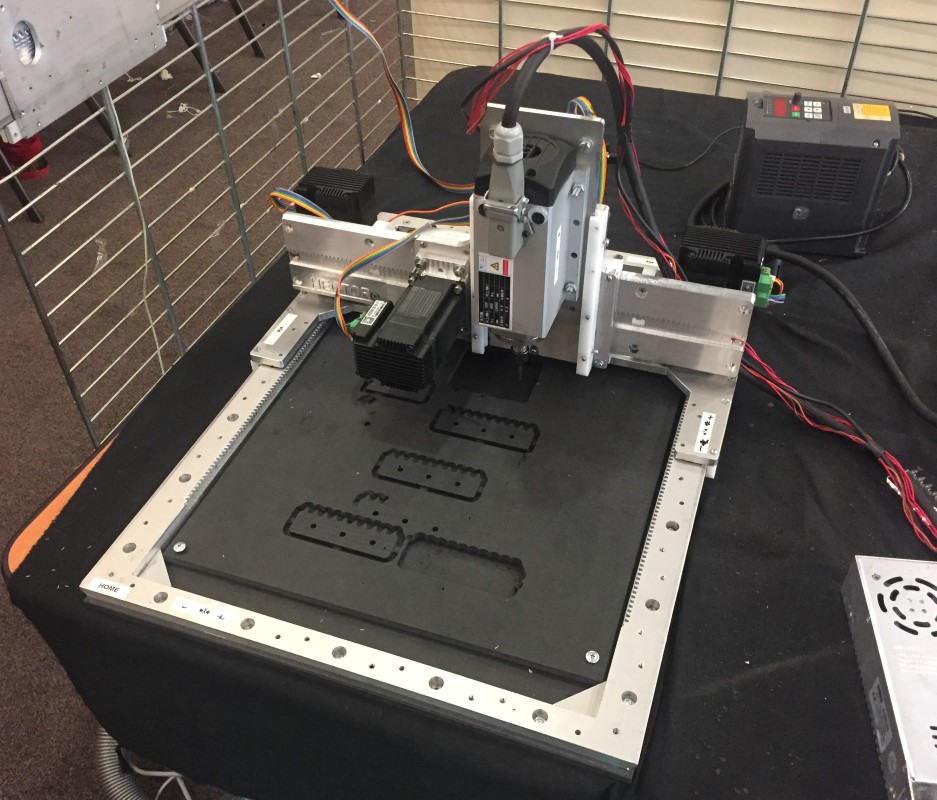
X-Y Plotter
After that we worked on X-Y plotter.
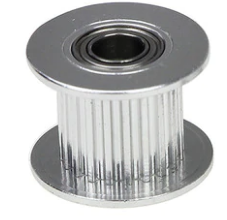
Mechanism
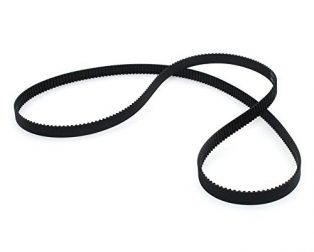
The mechanism used in this machine is lead screw and timing belts which is different from the one that we tried in the MTM.
For this we needed two things- Timing belt and timing pulley
Design
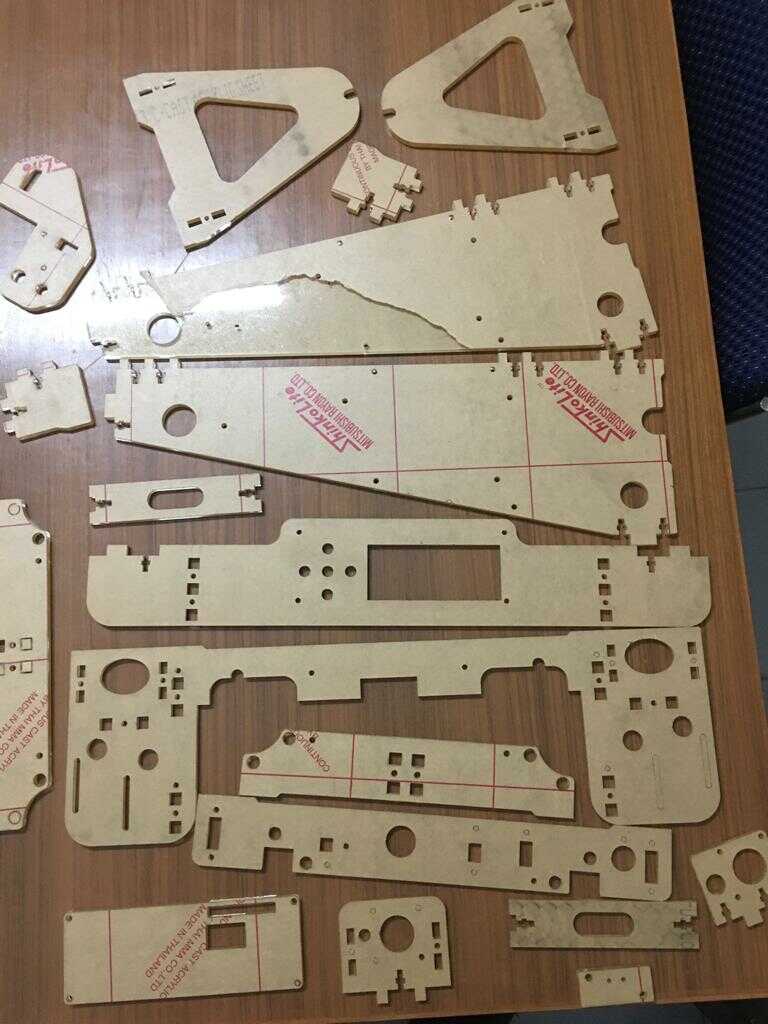
We downloaded the assembly parts of a DIY kit of the 3D printer from here. In this we needed to change few things like changing the dimensions of the slots to make them press fit and converted them into vector files.
Download the CAD files) Download the converted dxf files)
Next, Me and Jay laser cut all the pieces and assembled our machine.
To learn about the laser cutting process, click here
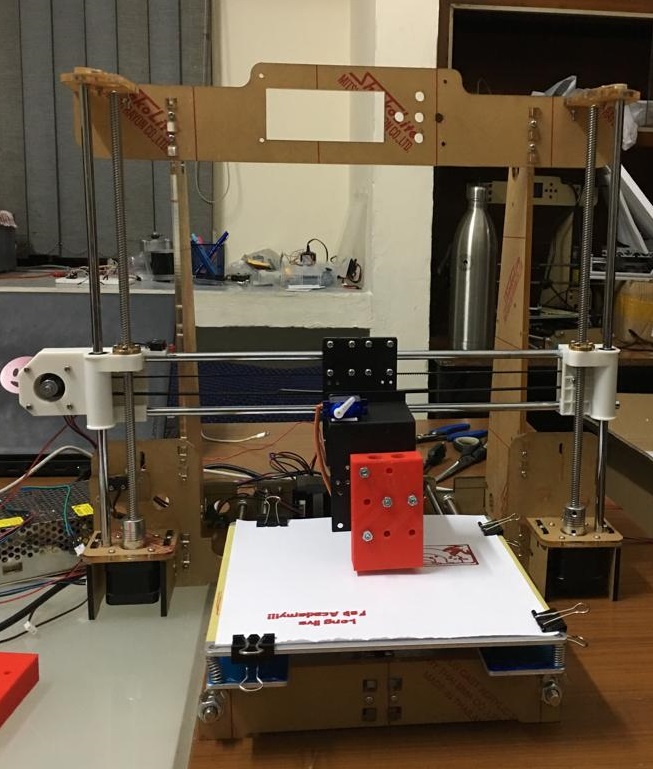
Rajat and Jay worked on the electronics and the programming part.
Click here to check the full documentations and the working of the final machine.
Learning outcomes
- I learned about different mechanisms.
- I learned the mechanical aspects of a machine like what things we need to consider while designing the structure of a machine
- I learned that building a machine is not that difficult if you have a team of members with different skill sets.

This work is licensed under a Creative Commons Attribution-NonCommercial-ShareAlike 4.0 International License.